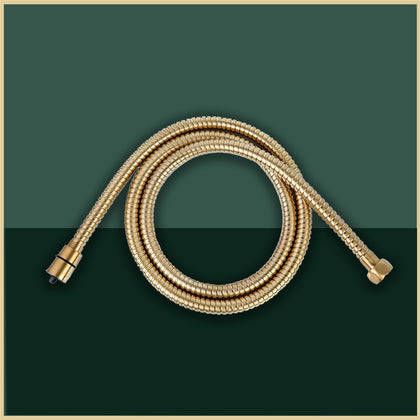
Hand showers serve dual purposes of bathing and cleaning within the shower space. However, prolonged use can cause wear and tear on the flexible hose, potentially leading to damage. In such cases, it's essential to replace the hose before it affects the functionality of the showerhead itself. Fortunately, restoring your hand shower's performance and appearance is simple with the availability of universal replacement tubes. These replacement parts ensure that your hand shower remains in optimal condition, providing a refreshing and efficient bathing experience.
REMOVE THE OLD HOSE
The initial step involves removing the worn or damaged shower hose. Often, the hose ends can become stubborn to detach due to mineral deposits and the accumulation of rust over time.
To minimize the risk of drips and leaks, it's crucial to promptly disconnect the water supply to the shower. Enhancing your leverage, you may utilize a combination of vice grips and pliers. For added traction, positioning a thin rag between the connectors and the jaws of the pliers can amplify grip strength. This technique facilitates the seamless removal of the old hose, ensuring a smoother transition during the replacement process.
CLEAN THE HOSE THREADS AT BOTH EXTENSIONS
Once the hose has been detached from both the supply end and the hand shower head, the next step involves cleaning the threads that will accommodate the replacement hose.
If the threads exhibit signs of damage, corrosion, or both, it's advisable to replace the connectors. Utilizing microfiber cloths and dish sponges can effectively eliminate any residual mineral deposits or mild corrosion.
After ensuring that the connectors are thoroughly dry, proceed to apply several wraps of thread tape. This step helps to enhance the seal and stability of the connections, ensuring optimal performance and longevity of the hand shower assembly.
ATTACH THE NEW HOSE

Attaching the new hose to both the plumbing connection point and the new showerhead should be a straightforward process. Avoid forcing thread sets that don't align with existing fixtures. In cases where the original manufacturer doesn't offer a replacement part or universal hoses don't fit, you might need to consider replacing the entire hand showerhead.
To ensure a proper seal and prevent leaks, it's important not to over-tighten the connections. However, if additional tightening is necessary, you can use a vice grip wrapped with a rag to safeguard the finish of the new hose ends while securing the connections. This approach helps maintain the integrity of the fittings while ensuring a snug and leak-free installation.
TEST THE HOSE
Once the new hose is installed, it's time to test its functionality. Start by turning off the water supply and then switch on the hand shower head.
Check for any drips or leaks around the connections. If you notice any, gently tighten the connections to ensure a secure seal.
Next, test the hand shower head to ensure it functions properly at all angles and extensions without any binding issues. Move the showerhead around to different positions and angles to confirm smooth operation and proper water flow. This step helps ensure that the hand shower is fully functional and ready for use.
In our guide on how to install a new hand shower hose, we explore the process of upgrading your shower experience. If you're interested in learning more about different types of showers and how they can add a touch of luxury to your bathroom, you might find Unveiling the Splendor of Showers: Exploring Various Types with a Touch of Gold quite informative. Check it out to discover more about enhancing your shower space with elegance.
SHOP FROM TAPRON or GOLDBATHROOM
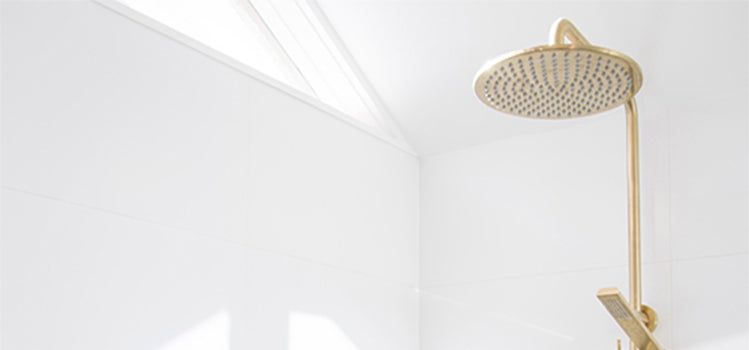
A new hose can bring life to a hand-shower headset that matches your decor. Tapron and Goldbathroom can help you choose the right set. Choose the right match to enhance your showering.
Comments
Post a Comment